"North Head has numerous dive sites with excellent sponge life"
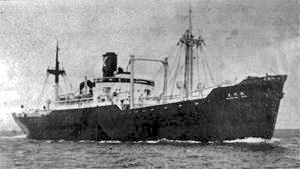
Momokawa Maru
Michael McFadyen's Scuba Diving - Momokawa Maru
One of the lesser dived wrecks of Chuuk Lagoon is the wreck of the Momokawa Maru. This is hard to understand as it is an excellent shipwreck. The Momokawa Maru (also spelt Momogawa Maru) was launched on 17 August 1940 by Kawasaki Dockyard Co Ltd at Kobe in Japan. It was constructed as a timber transport for Kawasaki K.K. with the intention to transport timber from Siberia to Japan. As the seas between Russia and Japan are mostly very inhospitible and subject to ice, the hull was specially strengthened to withstand the impact with icebergs and solid ice.
Displacing 3,829 tons, the Momokawa Maru is not especially large, only 107.3 metres long and 15.2 metres wide. Powered by a single coal powered steam turbine (unusual for a ship of this vintage), the Momokawa Maru was requisitioned by the Japanese Navy on 18 June 1943. Little is known about the wartime role of the ship, but it is reported that in Hailstorm over Truk Lagoon by Klaus Lindemann that the Momokawa Maru towed the badly damaged Kansho Maru from Kwajalein Lagoon to Chuuk Lagoon arriving on 6 January 1944. There is no reference to the ship in any Lloyds Register.
The Momokawa Maru
During Operation Hailstone, the Momokawa Maru was anchored on the eastern side of Dublon Island very close to the Aikoku Maru. On the first day of the raid, 17 February 1944, planes attacked a number of ships near the Momokawa Maru, including the Aikoku Maru which was sunk. The Momokawa Maru was hit and damaged but did not sink. On the next day, Curtis SB2C Helldivers from USS Bunker Hill attacked the ship, with one 1,000lb bomb finding its mark amidships. She sank almost immediately, leaving the bow above water for a short time.
The ship was discovered on 29 March 1982 by Klaus Lindemann using a depth sounder. Today it lies at a maximum depth of 41 metres under the bow. The bridge is about 27 metres and the deck about 33 metres. The ship has a heavy list (about 70-75°) to port. A GPS Reading of N7° 22' 23.5" E151° 54' 28.7" using WGS84 as the datum will put you on the bridge. This is where the dive boats normally anchor.
Dive 1
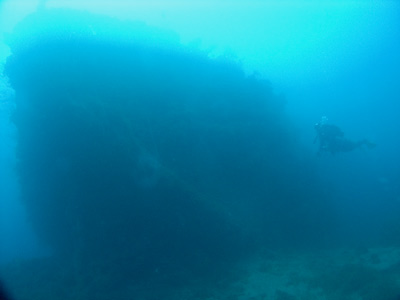
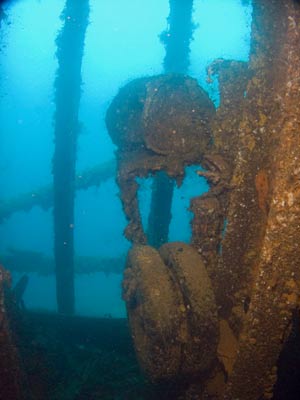
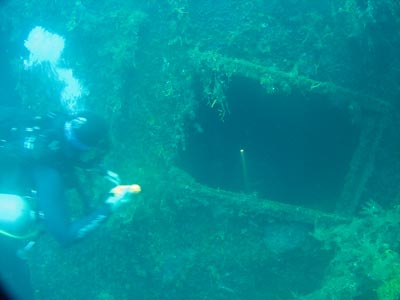
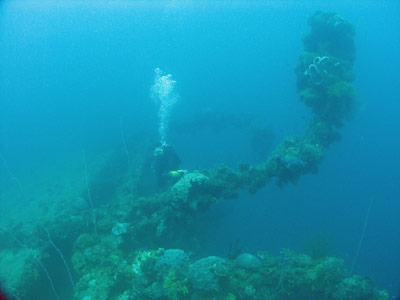
As you descend to the ship, the first thing you generally see is the front kingpost where the dive boats sometimes anchor. The bow is close so have a quick look at the two anchors which are both out. There is no gun platform or gun on the forecastle. Inside the forecastle is very cluttered, with lots of coiled rope or hose inside.
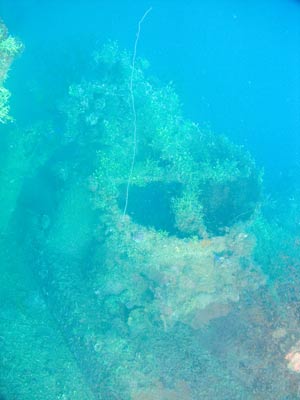
The bow of the Momokawa Maru
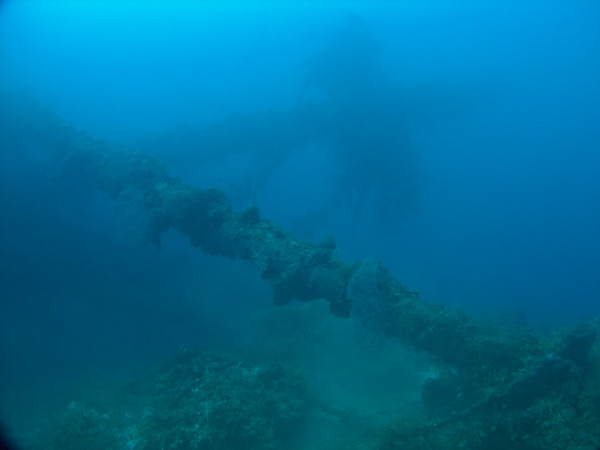
Looking back from the bow at the forward mast of the Momokawa Maru
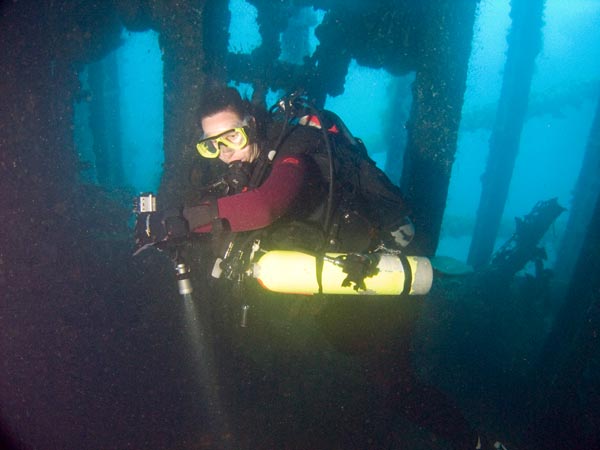
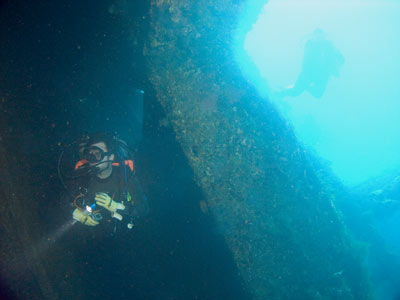
Kelly in one of the forward holds of the Momokawa Maru
One of the trucks in Hold 2
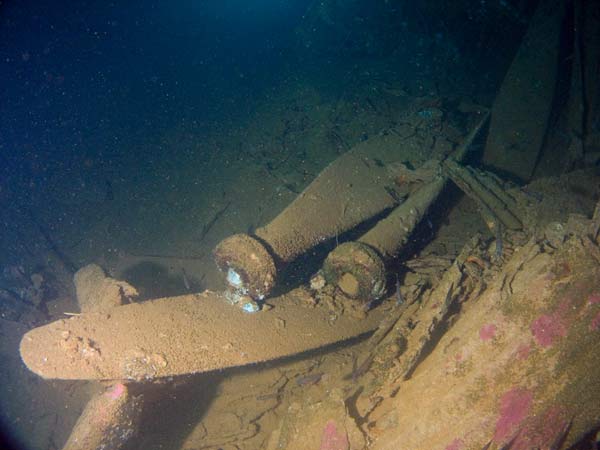
Hold 1 is straight behind the forecastle. It has plenty to see, including at least three tail sections of a large aircraft. Lindemann claims that they are Betty bombers but this is definitely incorrect. The Betty bombers have a tail gunner and these planes do not have any such hole for a gun and gunner. There are many propeller blades (individual blades), drop tanks, some wings (probably for fighters). There are also hundreds of sheets of corrugated iron, some shells, at least four radial aeroplane engines, heaps of bomber tyres and some big truck tyres. A fantastic hold, as good as the best on the Fujikawa Maru and San Francisco Maru.
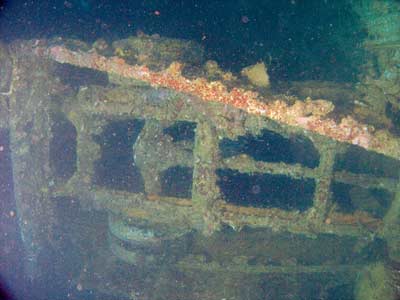
Hold 2 is next and this is also a treat. There are at least four trucks, three of which are facing the port side on the 'tween deck hatch beams. The other truck is facing the stern underneath these three trucks. The bottom of the hold is full of hundreds of 200 litre drums (mostly empty), aircraft belly tanks, at least one plane wing section, many more propeller blades and parts of aircraft fuselage. There are also a stack of gas cylinders in the rear upper section. Fantastic!!
Some of the aircraft prop blades in Hold 1 of the Momokawa Maru
Another of the trucks in Hold 2
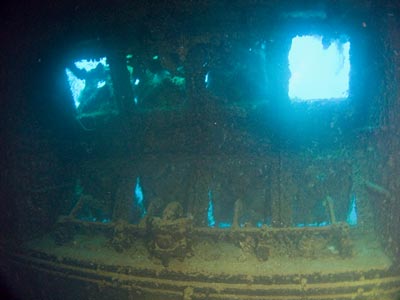
Between Hold 2 and the bridge is an elevated hold. This is quite small and is full of coal (for the engine presumably) and 200 litre drums. The bridge can be entered through the main windows on the port side. As you ascend through the different levels, you come across the telegraph and the helm (the wheel is gone). The floor is timber but it is not all rotted away yet. The top is open.
Adam Florence in Hold 3 of the Momokawa Maru
This is the hatchway at the rear of the superstructure that gives access to the engine room
On the top of the ship, the funnel is quite damaged (it may have been hit by a bomb). The engine room skylights are open. The starboard ones used to be covered by a fallen ventilator but are now (2011) clear. The port ones are too small to provide entry to the engine room. More about the engine room later during a description of a second dive.
From the rear you can enter the superstructure through a door. The floor used to be timber covered but it has been eaten away. However, this has not opened the decks up as the floor was steel overlaid with timber.
The helm of the Momokawa Maru
The very colourful bridge telegraph
You can swim towards the bridge and enter a large room, actually a number of rooms but the walls have been rotted away. These rooms were bathrooms and toilets as the various fittings and floor tiles can be seen. There are also other rooms in this area missing walls.
Behind the bridge area is Hold 3. This can be entered but as far as I could see there is nothing in here.
There is so much to see on this wreck you will not even get a chance to see the area from the superstructure to the stern on one dive. For this dive I did 25 minutes on the wreck and this required 4 minutes decompression at 6 metres and 13 minutes at 3 metres.
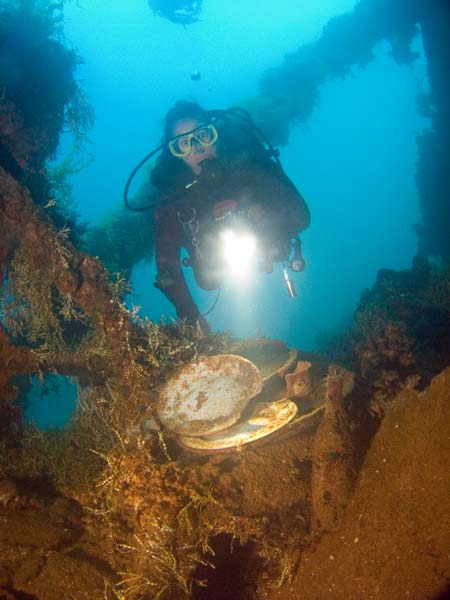
Kelly and some plates on the bridge
Kelly and the lifeboat davits on the starboard side
Dive 2
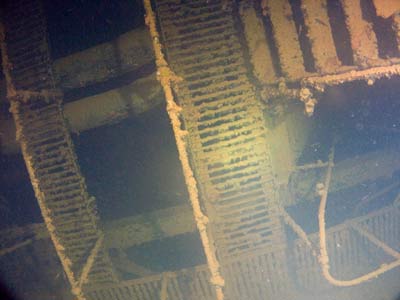
If you get to do a second dive here, you can explore a lot more. Again, you will probably start on the bridge. Head to the skylights and enter the engine room via the front starboard skylight. It can be pretty dirty in the engine room and the only time I entered it was clear above but dirty deeper. There are lots of catwalks and ladders inside. You can just make out the steam turbine from higher up.
The remains of the funnel of the Momokawa Maru
Looking back up at the skylights from the engine room
You can exit out the port side through a door and then head towards the stern. You come out above Hold 3. There is nothing in Hold 3 so swim along the deck past the rear mast and winches to Hold 4. There is a large crack on the deck between the two holds.
The engine room of the Momokawa Maru
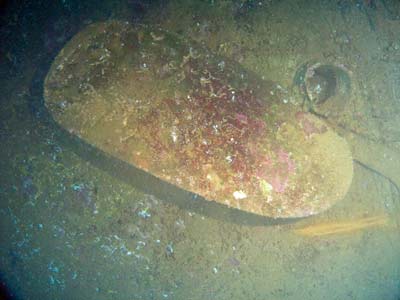
One of the spare props in Hold 4
Hold 4 has some interesting objects in it. They are spare propeller blades for the Momokawa Maru. They are located on the back wall (of the 'tween deck I think), one on the port side and one on the starboard side. There are some artillery shells on the bottom of Hold 3 or 4 (I cannot remember which one).
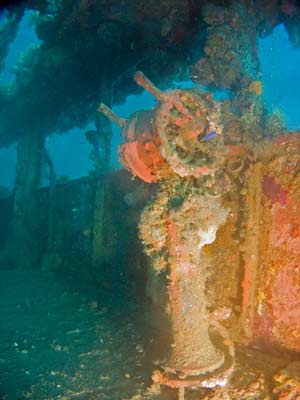
After exiting the hold, head to the stern. On the front wall of the poop deck there is a spare anchor. The port side of the poop deck at the stern is damaged. On the starboard side there is a small artillery gun and on the port side there is another one, this has fallen. There is no stern gun.
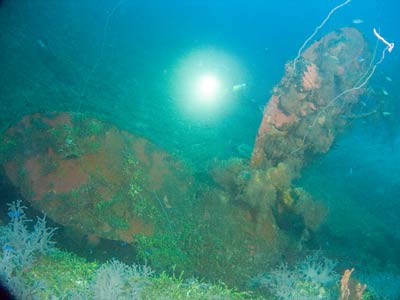
Head around the back of the stern. This has one of the most attractive props that you will ever see. Even though it is about 40 metres here, on the day we dived it you would swear that it was only 20 metres or so deep. You can get some excellent photographs.
The prop of the Momokawa Maru from above
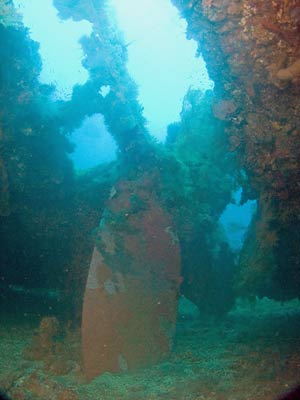
The prop from below the rudder
From here head back to the bridge over the starboard side of the hull and to the deck. If you have any spare time and air, explore the bridge again. For this dive you will do a bottom time of about 25 minutes, requiring decompression of 4 minutes at 6 metres and 14 minutes at 3 metres.
A magnificent wreck, another must-do Chuuk Lagoon wreck.
VIDEO
Video shot 14 November 1997.
Dives:
14 November 1997
18 October 2011
31 October 2011
References:
Hailstorm over Truk Lagoon by Klaus Lindemann
WII Wrecks of the Kwajalein and Truk Lagoon by Dan E. Bailey
26 Principal Shipwrecks of Truk Lagoon by Capt. Lance Higgs
 v6.00.307 © 2003-2005