|
Michael McFadyen's Scuba Diving - Kansho Maru
The Kansho Maru was launched on 30 June 1938 from the Tama Shipbuilding Co Ltd at Tama, Japan (alternate sources say Mitsui Dockyard) for Inui Kisen K.K. of Kobe, Japan. The new ship was 4,862 tons gross, 116 metres (384.4 feet) long and 16 metres (52.5 feet) wide. Powered by a single six cylinder 642 NHP Tama diesel engine, the vessel was built as a combined passenger-cargo ship. She was used before the war by Mitsui and Kawasaki Line but commandeered by the Navy straight after the start of the War. Alternative spellings for the name of the ship are Kensho Maru and Kensyo Maru (used by Lloyds Register).
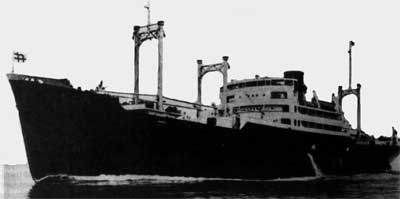 |
| Kansho Maru |
The first role of the Kansho Maru during the War was taking supplies from Japan to the Marshall Islands. After the Battle of Midway, a bow gun was installed on the ship. Just after this she was dry docked and some modifications made to the ship. This included removing the timber hatch covers on hold three and replacing them with steel and the 'tween deck plated over. This area was then turned into a small hospital.
During the following years the modified ship continued to take supplies to various islands but on return trips to Japan she carried wounded personnel.
On 4 December 1943, the Kansho Maru was attacked and damaged while in Kwajalein Lagoon. This attack was by US aircraft from a carrier fleet (a forerunner to the attack on Chuuk). The engine room was partially flooded and the ship is reported to have been run aground. It is not clear what happened after this as there are different reports about how she got to Chuuk Lagoon. In Hailstorm over Truk Lagoon, Klaus Lindemann says that the Kansho Maru was towed to Chuuk by the Momokawa Maru arriving on 6 January 1944. In WWII Wrecks... by Dan E. Bailey, it is stated that the Kansho Maru towed the Ikuta Maru to Chuuk Lagoon, having left Kwajalein on 3 January 1944.
Whatever is the case, on 17 February 1944, the Kansho Maru was anchored off Fefan Island, in the channel between that island and Dublon Island. It is likely that the ship was hit right on the stern by a bomb dropped by aircraft from USS Yorktown (Strike 1AY) at about 0630 hours. The same morning at about 0800 hours, dive bombers from USS Essex (Strike 2B) attacked three ships in the area where the Kansho Maru was anchored. A hit was scored on one ship amidships. It is believed that this may have been the Kansho Maru.
On 18 February 1944 during the second day of the attack, the Kansho Maru was attacked by aricraft from USS Enterprise, USS Monterey and USS Bunker Hill. During Strike 3B from the Bunker Hill, it was reported that a torpedo hit the Kansho Maru amidships. It is also possible that one aircraft dropped a belly tank on the ship causing a fire.
The Kansho Maru was not seen to sink.
On 24 June 1980, while on their way to the Kiyozumi Maru after searching for ships, the outline of the Kansho Maru was spotted by Klaus Lindemann's wife, Mary. A GPS Reading of N7° 22' 36.8" E151° 50' 45.0" using WGS84 as the datum will put you on the bridge.
 |  |
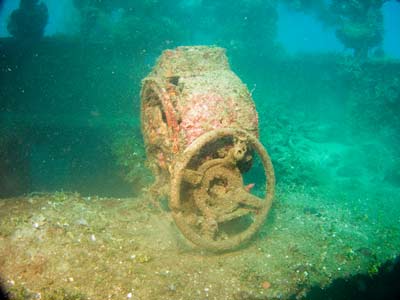
Rob Timmers and the bow gun
of the Kansho Maru | Another shot of the bow gun of the Kansho Maru |
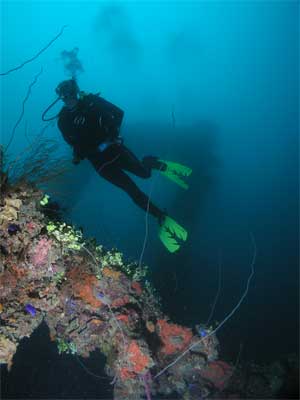
The wreck of the Kansho Maru lies upright with a list of about 15-20° to port. It is fairly level, with the bow being 21 metres, the stern a bit deeper and the sand under the stern just under 40 metres. Dive vessels anchor on the bridge area but a dive usually starts at the bow.
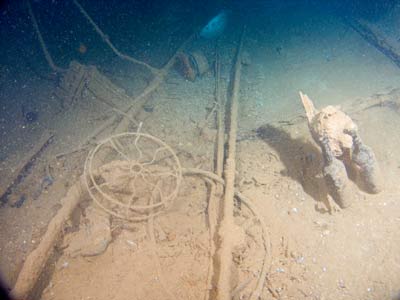
Head from the bridge to the bow. You will see that both anchors are out and the bow has a telegraph. There is a very nice gun, very colourful and well worth a photograph. The forecastle cannot be entered as both doors are closed. Behind here is Hold 1 which is empty except for a large number of 200 litre (44 gallon) drums at the back.
The section of deck between Holds 1 and 2 is badly damaged. The deck has collapsed all the way from the forecastle to the end of Hold 2. The damage is most severe around the mast house between the holds. On the outside of the ship, the hull is also damaged. It almost looks as though a giant has pushed his finger on the top of the mast causing the deck to implode down pulling the top of the hull on either side inwards a bit. Despite all this, there is no real explosion damage.
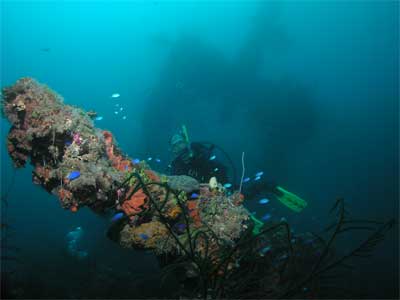
 |  |
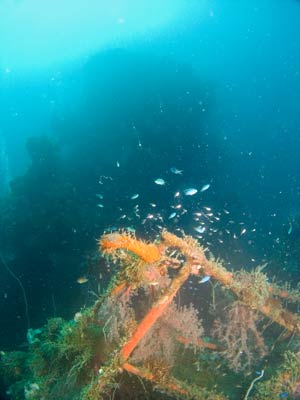
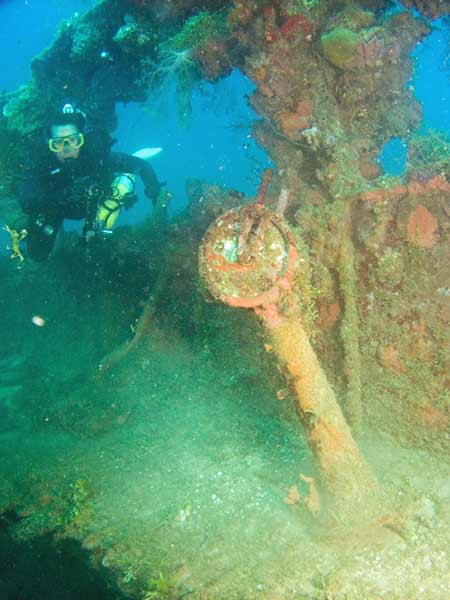
| The forward kingpost of the Kansho Maru | Rob Timmers over the deck with the second kingpost |
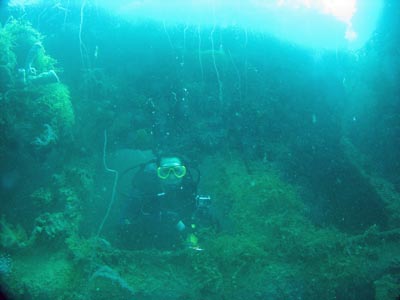
Hold 2 is empty and ascending a deck brings you to Hold 3 which is elevated. There is a large kingpost here. A photograph taken from over the port side looking back towards this kingpost can be very nice. Hold 3 has two 'tween decks. The top one has a door that takes you into the area under the bridge and then leads into the engine room.
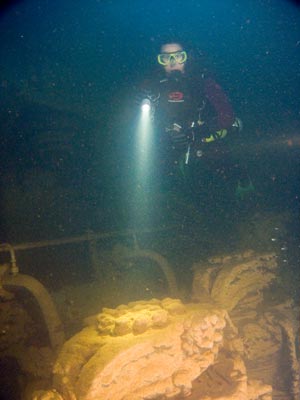
The engine room can be entered by the abovementioned door or the skylights (this is the easiest way). From Hold 3, you pass by some toilets and a bathroom before entering right above the engine. The engine room on the Kansho Maru is probably the best of any of the wrecks in Chuuk Lagoon. It is very large and airy, access is easy and it is very photogenic. The diesel engine consists of two sets of three cylinders in a line. You can explore under and around the engine. The depth here is about 27 metres.
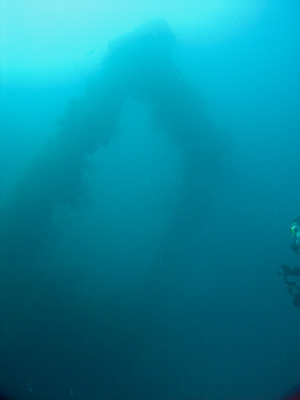
Exit the room via the skylights or a door on the port side (this goes almost straight to the galley). The skylight brings you out behind the still standing funnel.
 |  |
Kelly coming out of the skylights
that lead into the engine room | Kelly in the engine room over the diesel |
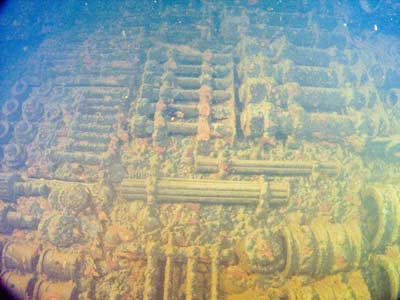 |  |
This is a wall of spare parts, mostly bolts,
in the engine room | More spare parts in the engine room |
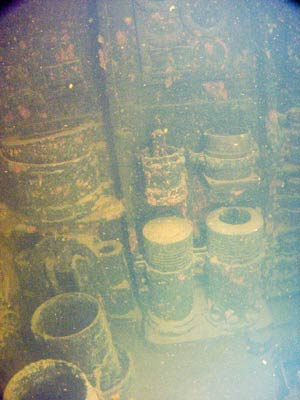
Behind the engine room skylights there is another skylight. This gives access to the galley. You can drop down the skylight and come out over top of a huge wood-burning combustion stove. The galley is quite interesting, with crockery, a teapot, pots and pans all over the place. There is another smaller stove to the starboard side and the whole room is tiled. You can exit out either side of the galley and by then going towards the stern you can exit out from the superstructure over hold four.
Hold 4 has a large pump or compressor (stated by Lindemann in his book) located on the port side of the 'tween deck. The remainder of the hold is empty. I think it is a pump as there are some large hoses coming in and out of it. My guess is that it is a salvage pump placed there to try and keep the engine room (and possibly other areas) empty of water after its misfortune in Kwajalein Lagoon in December 1943.
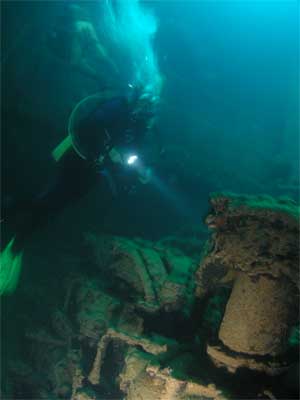 |  |
Rob Timmers and the engine
of the Kansho Maru | The funnel in the background |
 |  |
| Adam Florence entering the ship's galley | A fan under the bridge |
Behind here is Hold 5 which is mostly empty. It has some welding cylinders and two hatch beams have fallen into the hold. There are some bicycles, hoses and pipes in here as well. Unlike a lot of ships, the shaft tunnel is covered in timber.
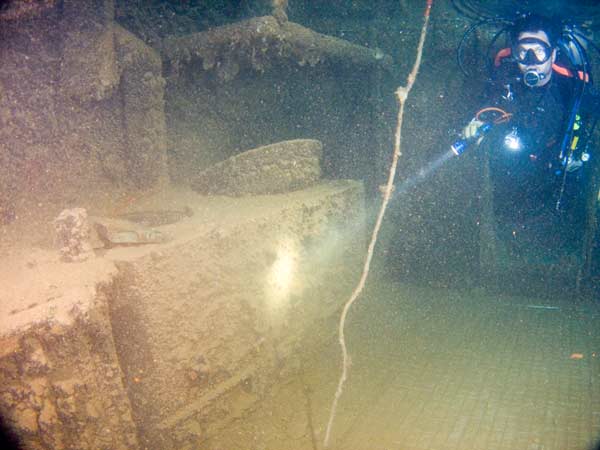
The stern has suffered a great deal of damage. There appears to have been a direct hit right on the rear railing area and the whole poop deck is opened up leaving a three metre wide hole. You can enter into the rear section by either of the two doors near Hold 5 or through the hole caused by the bomb. You can see the steering gear inside the poop deck which has been jury-rigged with ropes to try to make it usable.
You can exit from a different way than you entered and see that there is no rear gun. Drop over the side and there is a large four bladed prop sitting partially in the sand.
 |  |
| The helm inside the bridge | Kelly on the bridge with the telegraph |
From here, return to the bridge area (you will probably not have time to do all this on one dive). There are some artefacts sitting around the large funnel and bridge area (including a clock) and a quick examination of the bridge shows two radios under the main bridge level, the helm on the main level (with rudder indicator and compass bowl) as well as other interesting objects. The bridge telegraph handle still moves. The depth here is about 15 metres and the top of the funnel about seven metres or so.
A dive of about 35 minutes requires three minutes decompression at three metres. Another excellent wreck, especially the photogenic engine room.
Dives:
17 February 1994
6 November 1997
12 November 1997
6 September 2005
22 October 2011
Additional Photos
Photos by Shaun Reynolds taken March 2013.
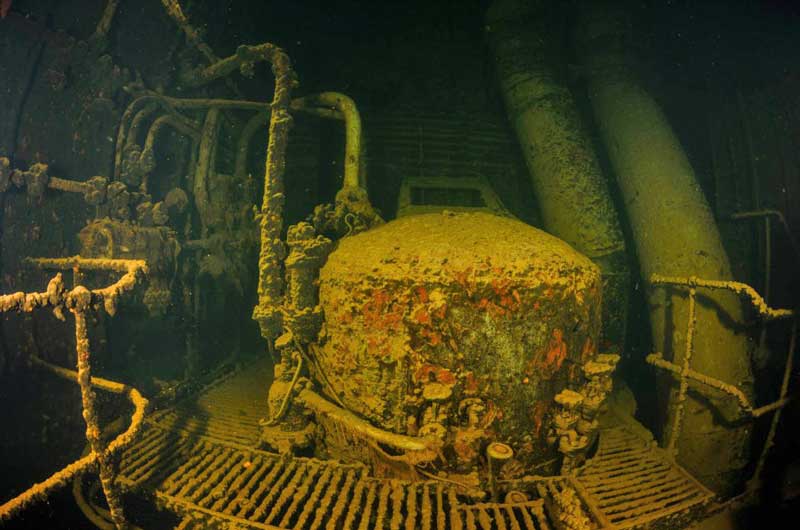 |
| The engine room of the Kansho Maru |
 |
| The galley of the Kansho Maru |
References:
Hailstorm over Truk Lagoon by Klaus Lindemann
WII Wrecks of the Kwajalein and Truk Lagoon by Dan E. Bailey
26 Principal Shipwrecks of Truk Lagoon by Capt. Lance Higgs
Lloyds Register 1939-40, 1941-42, 1945-46
|  v6.00.307 © 2003-2005

