There are so many wrecks in Chuuk Lagoon (Truk Lagoon) that the vast majority of divers who visit this wondrous dive site never see more than about a third of the available wrecks. Another of the lesser visited wrecks is the Fujisan Maru.
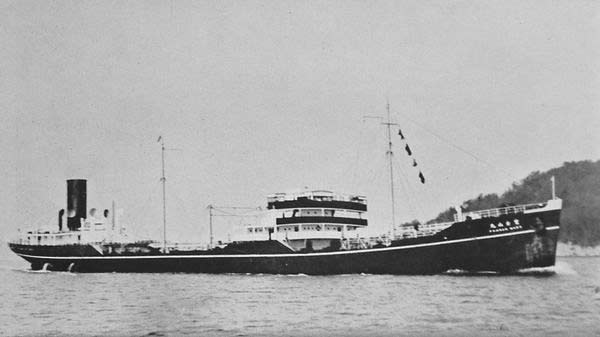
On 28 August 1930 the hull of a new merchant oil tanker was laid down by Harima Sanbashi (Harima Pier Company) as Hull No 179, a 9,527-ton merchant tanker for Iino Shoji Kisen Kaisha K. K., Fuchu, Japan. The hull was launched on 31 May 1931 as the Fujisan Maru. She was 156 metres long and 19.8 metres wide and displaced 12,501 tons. She entered service on 29 August 1931 for her owner. The ship had a 7,200 hp MAN diesel engine. Maximum speed was 18.8 knots and a cruising speed of 16.0 knots. There were 48 crew.
As you can see, this is a large ship, even longer than the Shinkoku Maru, also an oil tanker.
In September 1931 she did her maiden voyage transporting heavy oil from the Oha (now Russian Okha) oil field at North Sakhalin to Tokuyama. The Fujisan Maru then started work on Iino Shoji's North American-Japan oil transport service. She did a lot of the trips for the Imperial Japanese Navy (IJN). For the following 10 years she seems to have continued on this run, many of the runs being for the IJN.
On 13 June 1941 the owner Iino Shoji changed its name to Iino Kaiun Kaisha Ltd. On 22 November 1941 the Fujisan Maru was requisitioned by the IJN and registered (commissioned) in the IJN as a Converted Merchant Transport (Oil Supply) in the Kure Naval District. An unknown merchant marine captain was appointed Supervisor.
The Fujisan Maru
On 2 December 1941 she began conversion at the Sanoyasu Dockyard. Two 120-mm HA guns and two 25-mm anti-aircraft guns were fitted and depth charge rails installed. A hydrophone (passive sonar) was also fitted.
Despite the work not being completed, on 7 December 1941 the Fujisan Maru took part in the attack on Pearl Harbor. She was part of the tanker fleet used to replenish the submarines assigned to the attack.
Returning to Japan, the conversion was completed on 24 December 1941. On 5 February 1942 the Fujisan Maru departed for Palau, arriving there on 16 February 1942. After refuelling the submarines I-1, I-2 and I-3, they all depart for Staring Bay, Celebes. The Fujisan Maru arrives there on 21 February 1942. From here she moves to Kure, Japan arriving 7 March 1942. On 20 March 1942 she is attached to the Sixth Fleet (Submarines).
On 1 May 1942 the Fujisan Maru arrives at Yokosuka. On 26 May 1941 she departed Japan as part of the fleet to be used in the attack on the Aleutian Islands (Alaska). This was carried out at the same time as the Battle of Midway. From 3 June 1942 the Aleutians were attacked, with Dutch Harbor and Unalaska Island attacked and Attu and Kiska Islands invaded.
On 3 July 1942 the Fujisan Maru was at Agattu Island when seven USAAF B-24s bombed the MacDonald Bay anchorage. As well as the Fujisan Maru, the seaplane tender Kamikawa Maru, the cargo ship Kimikawa Maru and six destroyers were sheltering here. The three large ships all suffered light damage. On 13 July 1942 the Fujisan Maru arrived at Ominato.
On 20 August 1942 she was reassigned to the Combined Fleet and on 25 August 1942 she departed Ominato for Rabaul. During September 1942 the Fujisan Maru took part in Operation "KA" - The Reinforcement of Guadalcanal, Solomon Islands. The Fujisan Maru was attached to Vice Admiral Mikawa's Gunichi's Eighth Fleet. She refuels warships involved in the Solomons campaign and is bombed and damaged at an unspecified date. On 7 September 1942 the Fujisan Maru was back in Rabaul. She transferred 800 tons of fuel oil to the auxiliary seaplane tender Kiyokawa Maru.
MORE TO COME
Later, she was used to carry troops, 1,900 once to New Guinea. In December 1943 she was hit by a bomb from a Boeing B-17 but she was back in service in early 1944.
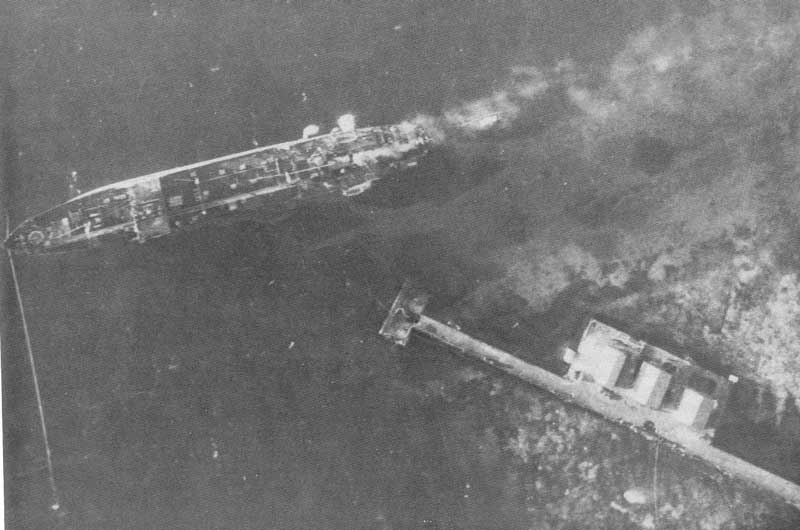
Photographs taken during the early flights of Operation Hailstone on 17 February 1944 show the Fujisan Maru tied up at the oil terminal wharf on the southern side of Dublon Island (that is, between Dublon and Eten Islands). The tanker is high in the water indicating that it is either empty or nearly empty.
The Fujisan Maru at the Dublon Oil Terminal Wharf on the morning of 17 February 1944
It seems that the Fujisan Maru stayed at the wharf for at least the first part of 17 February 1944, perhaps considering that the shore based anti-aircraft guns would help protect it. At some time she departed Moen and reports from pilots from the USS Enterprise said that at 10:00 am she was spotted heading north towards the North Pass exit from Chuuk Lagoon. Then, at 2:00 pm, planes from the Enterprise reported her heading south and located west of Eten Island.
It is probable that as the Fujisan Maru approached North Pass, she was shelled by the battleships and heavy cruisers from task group 50.9 which consisted of the Iowa class battleships USS Iowaand USS New Jersey, the heavy cruisers USS Minneapolis and USS New Orleans and four destroyers. This made her turn around and seek shelter back in the anchorage area.
The Fujisan Maru appears to have anchored overnight somewhere, perhaps to the south of Eten Island. Leaving very early in the morning of 18 February 1944, the Fujisan Maru travelled up the eastern side of Dublon Island and was headed for the western side of Moen Island when she was attacked by planes from the first flight from the USS Enterprise. It was about 6:15 to 6:30 am. When half way between the western extremities of the two islands, the Fujisan Maru was hit by a 1000lb bomb on or just off the port stern side, and two others which were near misses, one forward of the first one and the other on the starboard quarter.
The three explosions badly rocked the ship, the guns were knocked off their mounts and the port anchor fell and went to the bottom (it is also possible that the Captain released the anchor when he realised the ship had lost power and may drift onto nearby reefs).
The Fujisan Maru was fatally wounded and she was on fire, her bunker fuel ignited by the bombs. She started sinking by the stern and this put out the fire. Even though the forward oil tanks were empty and sealed, the weight of the water in the stern section of the ship was eventually heavier than the floatation and she went down. As she sank, the pressure of the seawater crushed the forward oil tanks. This can be seen today (see wreck description). At the same time, it seems the ship may have swivelled on the anchor and then the anchor got wrapped around the hull and ended up across the starboard hull and the deck. Again, see the wreck description for this.
The wreck was located by two Air Micronesia (later Continental Micronesia and then Continental and now United) pilots, Keith Jaeger and Ed O'Quinn. They were divers and on one flight into Chuuk in 1976 they spotted an oil slick and recorded its location. They later came back on holidays and using a depth sounder, they found the shipwreck.
Today the Fujisan Maru is located at GPS N7° 25' 17.6" E151° 53' 40.6" using WGS84 as a datum. This will put you on the bridge which is where the dive guides will normally anchor. The ship sits with a list of about 30° to port on the sandy bottom of about 58 metres. The bridge is about 38 metres.
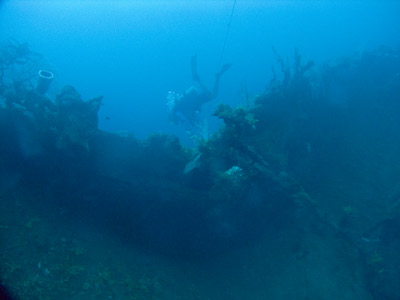
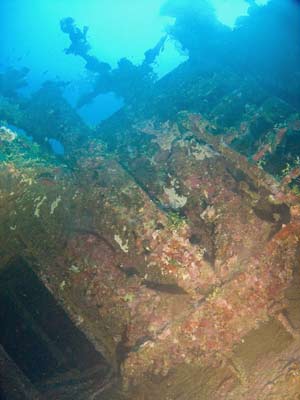
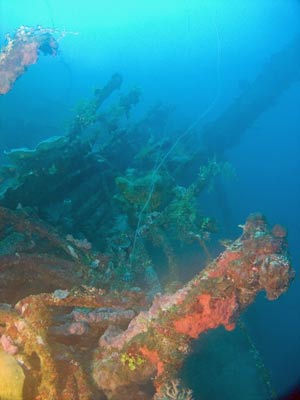
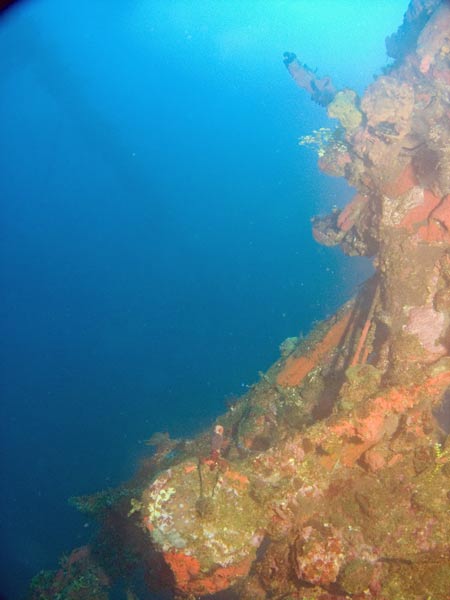
The buckle in the starboard hull near the forward mast
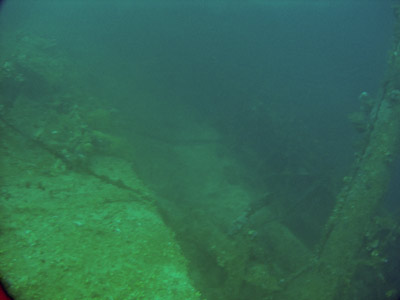
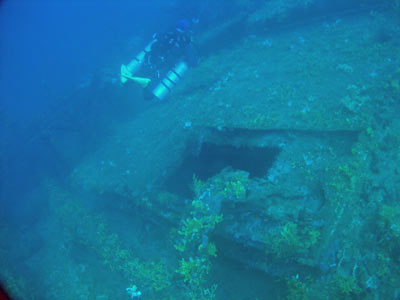
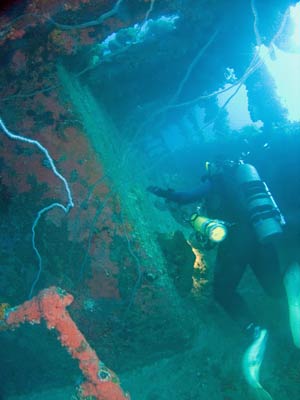
The collapsed deck on starboard side - looking rear from the mast - note the minesweeping paravanes to right
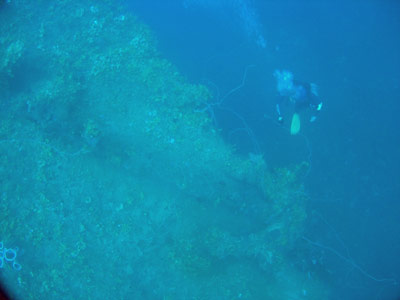
As this is an extremely large shipwreck, and it is relatively deep, you will not get to see much of the ship on one dive. It is recommended that the best part of the shipwreck to examine on your first dive is the forward section. From the bridge head forward. As you swim along the deck, you will see some large hatches. These do not lead into the oil tanks, but into service compartments which have pumps and valves.
About 10 or 15 metres forward of the bridge is a mast which reaches up to about 30 metres. This is handy to remember as at the end of the dive you can ascend this and then head over to the anchor line. Swimming along the starboard (and shallower) side of the wreck helps maximise your bottom time.
Just before the mast there are two minesweeping paravanes located on the starboard side of the deck. These lie pointing forward. There is also some anchor chain running from a winch over the deck and then over the starboard railing and across the starboard hull. Near here look over the starboard side and you will see that the starboard hull has a huge V shaped indent on the railing and some large ripples in it. The ripples have probably been caused by the near miss, although it is possible that it is a combination of the bomb and the sinking.
The starboard anchor of the Fujisan Maru
The spare anchor behind the forescastle
Back on the deck, you will notice that all the deck forward of the mast and a bit behind has collapsed inwards a bit. In addition, the hull forward of the ripple has also been pushed inwards. This damage was not caused by the bombing (well it was indirectly) but was caused when the empty oil tanks collapsed a bit under the 5 to 6 atmospheres of water pressure above. You can see the dividing line between the two forward tanks as the deck comes back up to a normal level here.
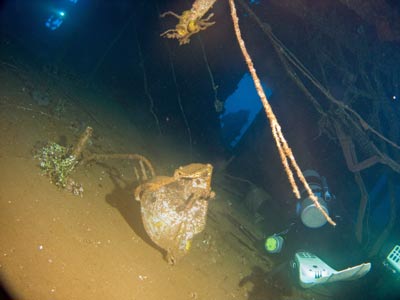
At the bow the forecastle has two entry doors, one on either side. Looking in them you will see there is a lot of junk, ropes especially. On the starboard side of the rear wall of the forecastle is a spare anchor. It sits in a cradle adjacent to the forecastle door. On the top of the forecastle is a large gun platform. However, as mentioned there is no gun as it fell off.
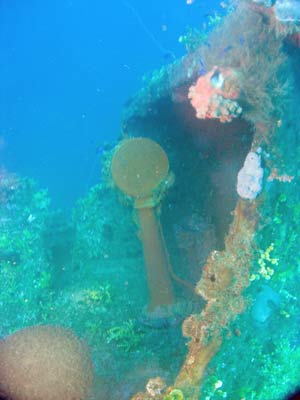
The bow telegraph of the Fujisan Maru
The deck in front of the bridge, this hatch gives access to the oil tank
The bow is intact and swimming off a short distance on the starboard side gives a nice view. The starboard anchor is in place but as mentioned, the port one runs out and down to the sand and back under the wreck. I have tried to work out how the anchor chain could end up across the hull and deck but I cannot figure it out!
By now you will have been down for about 20 minutes and probably already have over 20 minutes of decompression. Head back to the bridge area. There are a couple of doors to the lowest level of the bridge. The starboard one was checked out by Kelly and she indicated it was full of pipes and valves and too cramped to safely enter.
Head up a level and you can enter through a window. This gives access to crew cabins. There are lots of hand basins and toilets all over the place, but there are now no individual compartments as the walls have all rotted away.
Exit out the rear of the bridge. Here you will see the rear deck disappearing off into the blue. On the port side of the centreline (not on the centreline as some diagrams show) is the catwalk that runs all the way back to the engine room area.
Inside the area under the bridge
The catwalk that leads from the rear of the superstructure
Below here there are some skylights. These are not to the engine room as that is at the stern. Like the Shinkoku Maru, they probably give access to machinery spaces or pump and valves.
Return back to the bridge and you will see on the top level a telegraph which has fallen over.
Coming back along the starboard passageway
The fallen engine telegraph on the bridge
Again, this is an excellent wreck that is not dived all that often. In fact, our guide was not all that confident about finding it and I assisted with GPS marks I had been given by some other divers. The visibility here is nearly always in the vicinity of 30 or more metres. A must do dive if you are diving Chuuk for two weeks.
VIDEO
Video shot by Kelly McFadyen on our 2011 trip to Chuuk.
 v6.00.307 © 2003-2005