|
Michael McFadyen's Scuba Diving - Bare Island Locations
MORE PHOTOS TO COME
Bare Island has such a vast number of dives that are able to be done via many different routes. As such, there are many locations that I refer to in my articles that can sometimes be confusing to divers. The following is summary of the many features with a description and their location.
ABOVE WATER
 |
| A Google Maps aerial photograph of Bare Island. See below for description of names. |
Western Point
As the name suggests, this is the western-most point of the island. It is an entry point only, do not even consider exiting here as it is too hard. Best way to access the Deep Wall, Isolated Reefs, 15 Metre Reef and Red Indianfish Reef. Only use if the seas are calm and if you are already experienced in diving Bare Island. Better at mid-tide, at high tide can be difficult in even calm seas as waves wash over the rock platform. You cannot giant stride into the water as it is not deep enough. You need to flop in.
South-Eastern Point
Again, this is the south-eastern point of the island. You enter off the eastern side of the point rather than the southern side. If seas are up a little or it is high tide, you will need to come back a bit to the north. It can be a bit shallow in spots, so look before you leap. It is also normally very slippery, so be careful. Do not use as an exit except in emergencies at high tide as it is too hard to get out of the water. Used for dives to the Bombora, Bare Island Deep Wall Drift and Bare Island Left. Do not use for the first two dives unless you are experienced with Bare Island and good on your air.
Swimming Pool
This is located towards the western-most point of the island and is a possible entry point when the seas are too rough to use the western point. It is not recommended to exit here, but you can if low on air. Used for the same dives as Western Point as well as Bare Island Right.
Boat Ramp
The boat ramp is the normal exit site for all dives on the western side of the island. This is located immediately to the right of the southern end of the bridge. Can be used in all but the hugest seas. Is also used by beginners as an entry point. If this is the only spot you can enter the water due to big seas, then it is probably better not to dive at all. The exit can be found by turning right when you see the line of rocks on the sand.
Larpa Point
As far as I can see, this point has no offical name. It is the point to the west of the bridge and south of the right-angle car park. This is used to access Bare Island Isolated Reefs and the Larpa Point dives. It is a good entry and exit point and normally can be used when the Western Point is too rough.
Goat Track
This is the way down to the rock platform on the north side of the bridge. It starts from the road to the bridge just before it turns to the left. It leads to the rock platform. This is how we used to dive the right side of Bare Island before the stairs were built on the island (there only used to be a ladder - you had to climb over the fence and go down a pipe ladder - very hard). use only for dives along the mainland, exiting at Larpa Point.
Carol's Plaque
This is a plaque to the memory of Carol Martin who died here on a night dive in February 2011. It is located halfway between the Swimming Pool and the Boat Ramp. A good entry point for Bare Island Right and also for 15 Metre Reef and Red Indianfish Point if you cannot use the better alternatives above.
BELOW WATER - BARE ISLAND RIGHT DIVE
 |
A new underwater map of Bare Island created by Marco Bordieri from www.viz.net.au. For a much larger pdf version of this map, click here.
Used with permission of Marco Bordieri |
These are listed in order as you go from the entry/exit point to the west and then to Isolated Reefs.
Shark Fin
This is a piece of aluminium from a boat wreck. It is shaped like the dorsal fin of a shark, only the ^ bit sticks up out of the sand. It is located next to a small overhang at about 5 to 6 metres. If you follow the sand from the Boat Ramp to the west and north-west, you see it at the spot where you turn left (to the west) from the sand and go over reef. On the way back from a dive, it is where you turn right and follow the sand edge back to the exit. It takes 3 minutes to swim here from Carol's Plaque (as above) and 4 minutes from the Boat Ramp (as above).
 |
| The "Shark Fin" and the outboard motor remains are on the right. |
Outboard Engine
This first appeared about 2010 and has moved over the years, probably dive shops playing around. It is now located just near the Shark's Fin (see above) and right where you turn left and head over the low rock from the sand.
Orange Sponges
There are two orange sponges (sometimes look more yellow than orange) located on the way to quite a few of the dive sites on this side of the island. The first one is located 2.5 minutes swim from the Shark Fin. The second one is another 30 seconds along. They are turning points for different dives.
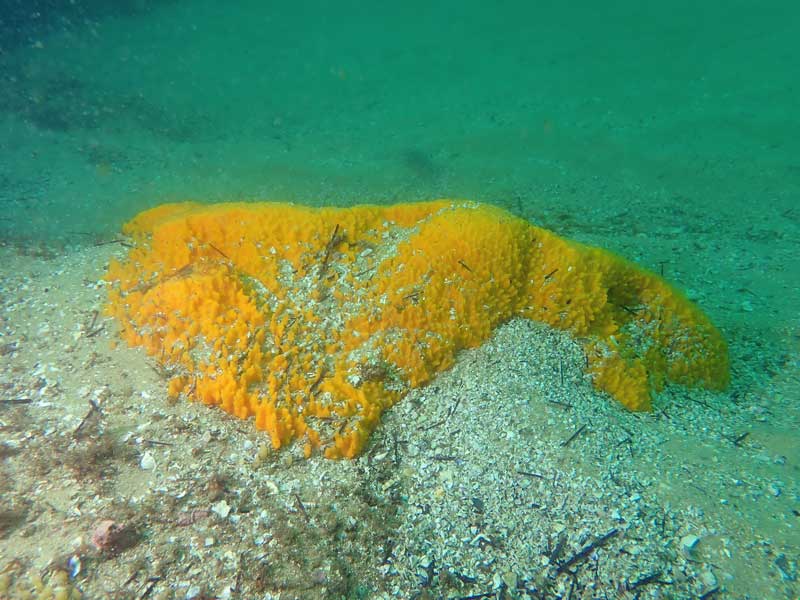 |
| The first orange sponge. The second one is very similar. |
44 Gallon Drum
This now only consists of the rims of the top and bottom and a small amount of the wall of the drum. It is half buried in the sand and is located at about 8 metres, between the Orange Sponge and Sea Tulip Rocks.
 |
| The 44 gallon drum |
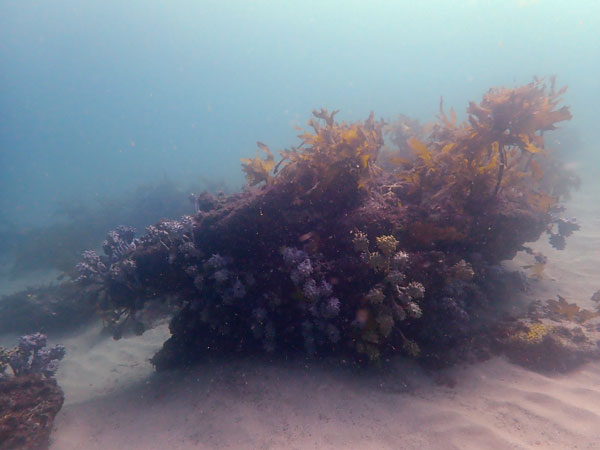
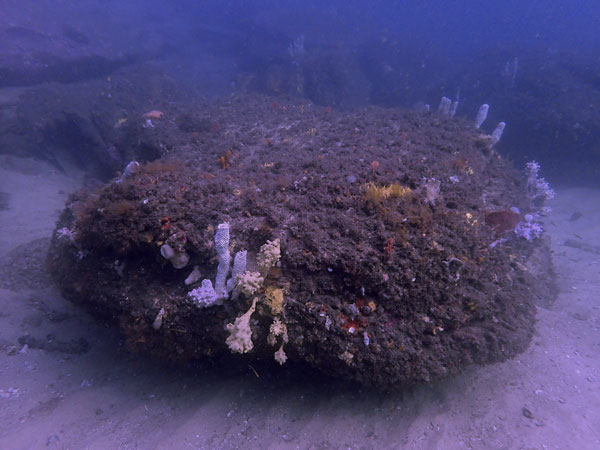
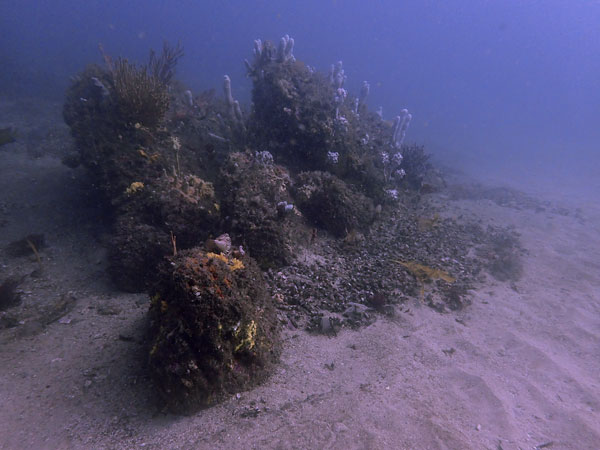
Sea Tulip Rocks
These are located at about 8 to 9 metres about three minutes swim from the last Orange Sponge. There are five covered with tulips and two with kelp. You turn left here to continue deeper.
 |  |
| A section of Sea Tulip Rocks, you turn left and go over these rocks | Sea Tulip Rocks out to the right as you turn left |
Sea Horse Rock
This is located at about 12 metres on the Bare Island Right dive route. It is a flat rock about two metres wide and three metres long. On the western side it is about one metre out of the sand and on the eastern side about 250 mm. On the eastern side there are two pieces of pylon from the bridge, both about 750 mm in diameter and hollow. There is copper sheathing on parts. The larger one of these was moved by a huge storm in 2022 about four metres to the south. This was the spot where three big belly sea horses lived for about three years in the mid 2000s.
 |  |
| Sea Horse Rock | The hollow pylon next to Sea Horse Rock |
Opera House Rocks
This consist of three rocks, two quite large and one smaller. They are angled over at 30 degrees to the south as you approached from the start of the dive. They resemble the sails of the Sydney Opera House. They are located off the main reef and nearby rocks and there is a large section of timber from the bridge laying pointing back towards the way you have come.
 |
| Opera House Rocks |
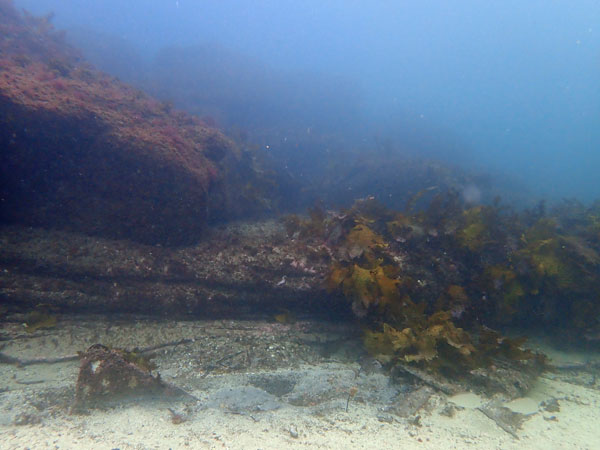
The Cave
 |
| The area outside The Cave which is mostly to the left half of the photograph. |
The Cave is located about 25 metres or so to the east of Sea Horse Corner. You pass by here on all dives to or from the western side of the island.
Block Rock/Shallow Concrete Block
This is located near Sea Horse Corner. The concrete block is located on its side between the main wall and a large rock which I have named Block Rock. The concrete block was put here in about 2009 when Ausgrid installed a new electricity cable from La Perouse to Kurnell. I have no idea why the block was put there as we never saw it being used for any purpose. There is another one at the northern end of the Sand Gutter coming back from the Deep Wall.
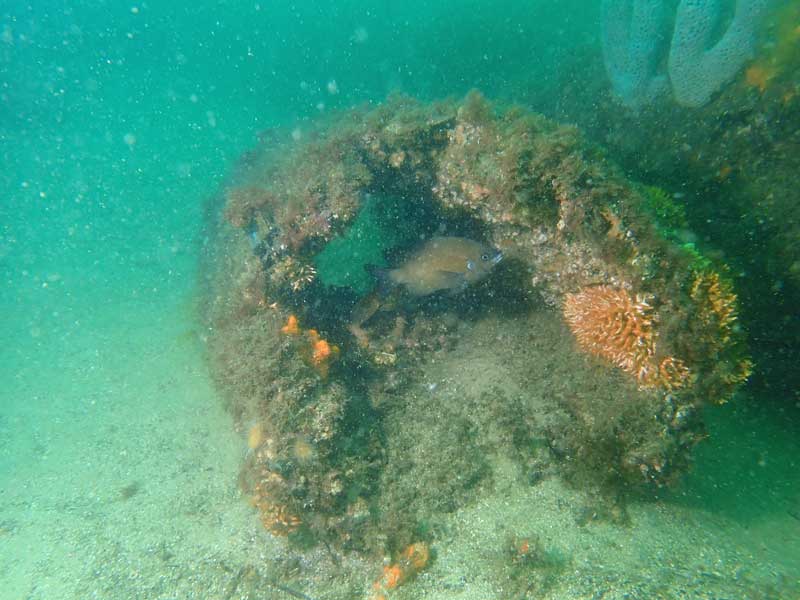
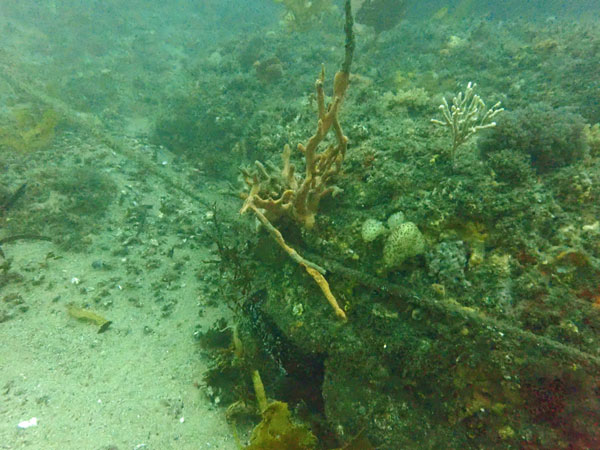
Sea Horse Corner - also Sea Horse Cave or Point
This is near the end of the Bare Island Right dive and is located at about 14 metres. At this spot the wall running west does a right angle turn and heads south-east. It is a very prominent feature, with a large overhang creating a cave. In the mid-2000s before the bay was dredged, there were up to seven big belly sea horses found on the sea tulips and other sponges under and on the rocks. You pass this spot on the way back from the Deep Wall, 15 Metre Reef and Red Indianfish Reef.
BELOW WATER - BARE ISLAND DEEP WALL DIVE
This starts from where you drop over the wall to the sand at 18-19 metres.
The Truck Tyre
This large truck tyre is located off some small rocks and is less than 10 metres south of The Bubbles (below).
The Bubbles
The Bubbles are floats that are attached to a very old trawling net. The ropes of the net were caught up on the rocks and all that remains visible are the plastic floats that still hold loops of rope free of the sand. They are located at 18 to 19 metres on the sand at the northern end of some small boulders. These are north of some larger boulders. They are about 15 metres off the main Deep Wall. To get here it is immediately south of the Western Point. There are normally pygmy pipehorses on the rocks near here. It is about 50 metres from here to The Anchor.
The Anchor (Note: this now no longer exists as a dive shop moved it numerous times and it fell to pieces)
The Anchor is a smallish very old Admiralty style anchor. It sits about 750 mm out of the sand, standing on one fluke and the head. It is located on the Deep Wall, immediately west of the Western Point of the island and north of The Bubbles. The depth is 18 metres. To the north-west of here is the turning point to head back to the exit.
The Sand Gutter
The Sand Gutter runs from the northern end of the Deep Wall between Red Indianfish Reef and the sand near the 15 Metre Reef. It leads to the Deep Concrete Block.
Deep Concrete Block
This is located at the end of the Sand Gutter and is the spot where you turn right towards 15 Metre Reef. The concrete block was put here in about 2009 when Ausgrid installed a new electricity cable from La Perouse to Kurnell. I have no idea why the block was put there as we never saw it being used for any purpose. There is another one near Sea Horse Corner.
BELOW WATER - BARE ISLAND ISOLATED REEFS
This starts from the main reef near Sea Horse Corner and goes anti-clockwise around the two reefs.
Small Admiralty Anchor
This is located on the northern side of Isolated Reef 2 towards the western end. The depth is about 18 metres. It is a tiny anchor, probably from a small rowing vessel. There are other bits of metal in this area.
 |
| The small admiralty anchor on Isolated Reef 2. |
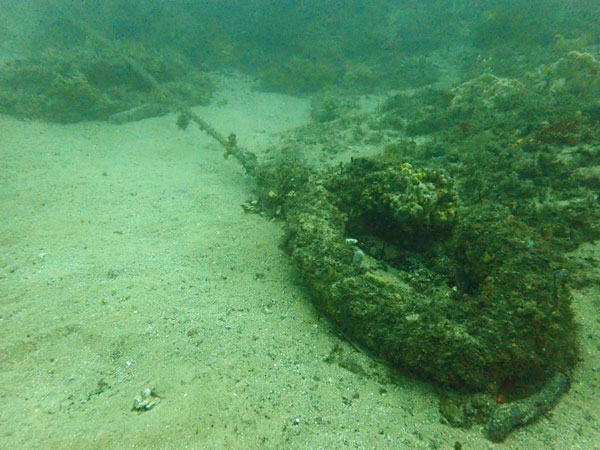
The Big C
This is a large steel item in the shape of a C. From this a very thick ship sized mooring rope runs to teh west and then north. It is located on the south-eastern corner of Isolated Reef 1 and runs between the two reefs.
 |  |
| The Big C | The rope running from the Big C |
BELOW WATER - EAST SIDE
Channel
This is the water between the island and the mainland. You need to use this to start and/or end a dive on the eastern side.
Gutter
This gutter heads from the south-eastern end of the Channel to the south. it is formed by huge boulders off the wall and the wall. It has some boulders in it.
Cave
This cave is at the southern end of the gutter.
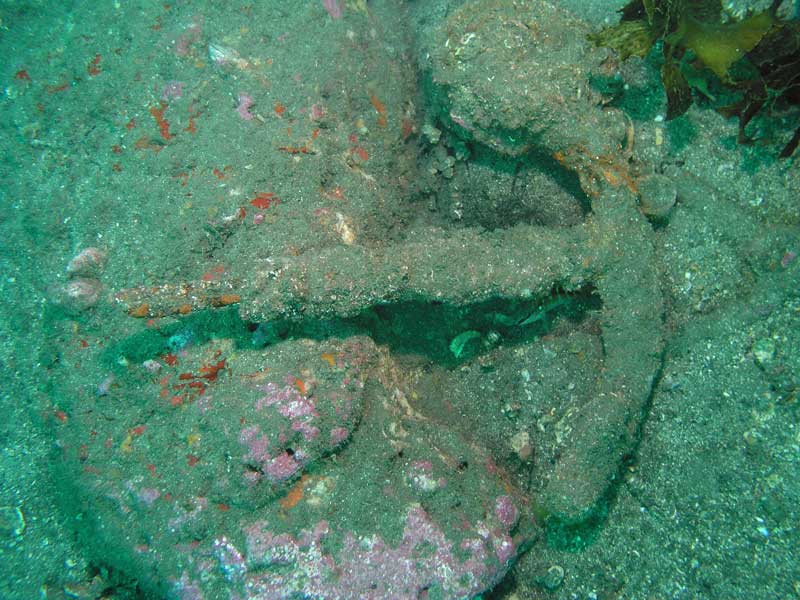
Large Admiralty Anchor
There is an Admiralty anchor located on the eastern side. This is much larger than the two on the western side. It is located about 10 metres off the reef edge to the immediate east of the Southern Point. It is hard to find.
|  v6.00.307 © 2003-2005

