 |
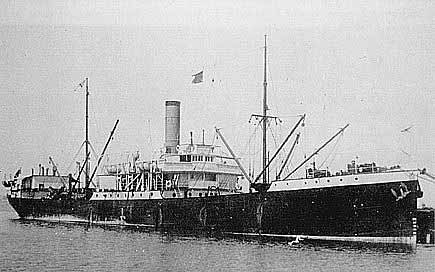
This photo is titled SS Maria Goriainova
A poorer quality has the title SS Nord |
On Wednesday 26 September 1900 a new ship was launched at the Greenock and Grangemouth Dockyard Company shipbuilding yard in Greenock, Scotland. The ship was the SS Maria Goriainova. The new ship was a large vessel, 81 metres (269 feet) long and 12.75 metres (42.5 feet) wide. The ship a gross tonnage of 1,840 tons and was powered by a triple expansion steam engine of 201 nhp driving a single prop. The steam came from a pair of coal burning boilers.
As can be guessed by the name of the new ship, the original owners were a Russian company (details to come). Starting in 1903 the ship went through a few quick changes in ownership. First it was purchased by G & L Beijer of Stockholm, Sweden, then later in the year ownership changed to Rederi A/B Rex (Wald. Beijer), also of Stockholm. I presume that this was somehow related to the first company. At this time the ship was renamed SS Nord.
In 1906 the Nord was sold to new owners in Shanghai, China. In about 1910 the Nord was registered by the Anglo Saxon Petroleum Company of London.
On 9 July 1914 the Nord arrived in ???? (not yet known) from Sydney. On 20 October 1914 the Nord arrived in Fremantle. On 7 November 1914 she departed ???? (not yet known) for Newcastle.
On 26 January 1915 the Nord was due to arrive in Melbourne from Singapore. On 29 January she was still anchored off Melbourne. On Wednesday and Thursday 4 February 1915 she was at the New Pier at Williamtown (Melbourne).
On 18 February 1915 Nord passed Goode Island heading west (not sure where this is).
The Nord was due to arrive in Melbourne on 1 April 1915 but actually arrived on 6 April, She had come from Singapore via Adelaide (and presumably Fremantle). A report in the Argus of that date said she was an oil-tanker and was carrying bulk petroleum, benzine, naptha, motor-spirit and similar commodities. She left Melbourne on 7 April 1915 for Brisbane and Rockhampton, Queensland. On 17 April 1915 she left Brisbane for SIngapore and on 19 April 1915, the Nord arrived in Rockhampton.
On 14 October 1915, the Nord arrived in Fremantle, Western Australia, from Singapore. On 22 October she left Fremantle to return to "the east". However, on Thursday 28 October 1915 she was scheduled to arrive at Williamtown, Melbourne. However, on 29 October 1915 she left Adelaide in South Australia for "the eastern states".
On Saturday 30 October 1915 the Nord passed Cape Otway and on Monday 1 November 1915 she arrived in Williamtown, Melbourne with a load of bulk oil. It would appear that she left some days later for Hobart in Tasmania.
Late in the afternoon of 7 November 1915 the Nord was sailing along the east coast of Tasmania on this voyage from Melbourne to Hobart. The ship was under the command of Captain M. Mackay. On board was a cargo of 12,000 cases of benzine (motor vehicle fuel). At about 5 pm, the ship hit a small reef between Cape Hauy and Hippolyte Rocks. This reef, now known as Needle Rock, sits about four metres under the water's surface. Needle Rock was not marked on the charts, even though in 1883 the same rock had claimed the SS Tasman.
Captain Mackay originally decided to continue on towards Port Arthur (which is located south and then north around Tasman Island) in a vain attempt to save his ship. A better option would have been to head for Fortescue Bay which is only about seven kilometres to the east-south-east. It is reported that he apparently went all the way south to Tasman Island which is about 14.5 kilometres from Needle Rock. He then decided that he was not going to make Port Arthur so he rounded Tasman Island and headed back towards Fortescue Bay. I am not yet sure about the accuracy of this so will check later if this is true and update this page.
It was 4.5 kilometres back from Tasman Island to Cape Pillar. Once around Cape Pillar he followed the shoreline to the north-west for about three kilometres before it was obvious the ship was doomed. The captain dropped an anchor and the ship turned and faced back towards the rock that sealed her fate, with the stern facing the extremely steep shoreline of Cape Pillar. At about 7 pm all the 42 crew abandoned ship into lifeboats and made it to safety. I have read that some of the Chinese crew made it to shore and walked to Port Arthur while the rest were spotted by a lighthouse keeper who saw the plight of the Nord and went to their assistance. However, it is hard to see how the Chinese could have got ashore as it is so steep here. Perhaps they rowed a boat to Fortescue Bay (about 12 kilometres). The lighthouse keeper must be the Tasman Light keeper on Tasman Island.
Eventually, at about 2 am the next morning (8 November 1915) she sank in Munro Bight.
A Court of Inquiry later cleared the skipper, Captain M. Mackay, of blame for the loss of the vessel due to the inaccurate charts that did not show the rock he hit.
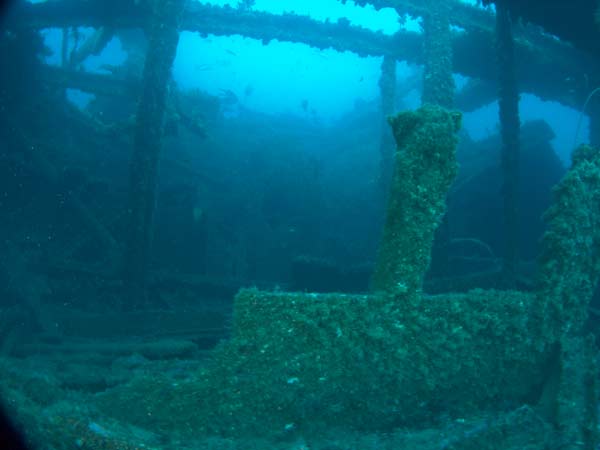
 | 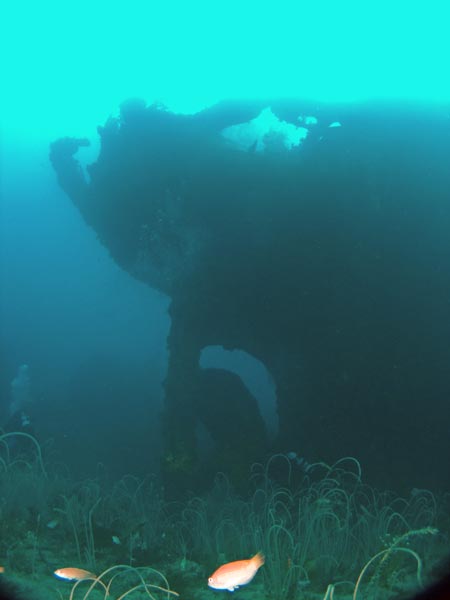 |
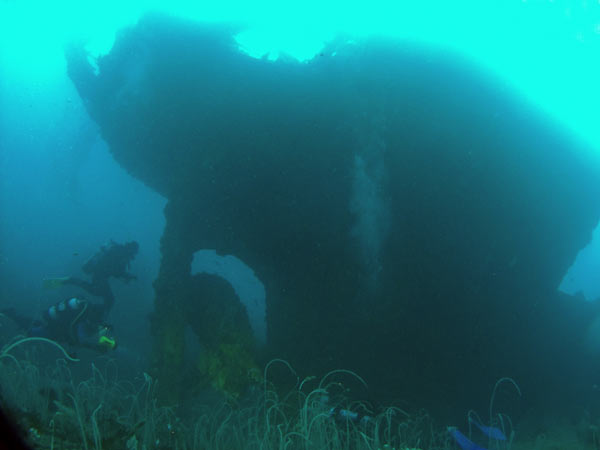
| The middle section of SS Nord | The stern of the SS Nord |
Today the ship lies just over 20 kilometres south of Eaglehawk Neck and the boat ramp at Pirates Bay. With a private boat, you could also run from Fortescue Bay boat ramp. The dive operator runs out of Pirates Bay and it is a 30 minutes run in calm seas. You need relatively calm seas and good wind conditions. The last eight kilometres once you round The Lanterns at Cape Hauy are very open to southerly and south-westerly winds. If the wind is from this direction and over 10 to 15 knots, you will not be able to dive this site.
The actual GPS location of the wreck is 43° 12' 29.5"S 147° 59' 19.9"E using WGS84 as a datum. The wreck lies facing north, so running from the east or west will bring you right across the wreck as it lays. The GPS reading should put you near the engine area so the depth should come up from just over 40 metres to about 35 metres. This is where Eaglehawk Dive Centre will anchor. The wreck is on a sand bottom, with large rocks or reef to the south-west of the stern.
There can be currents on this wreck, so it is important to hold onto the anchor line as you descend. The current can often go right to the bottom, so make sure you do not let go until you are on the wreck.
As you descend you should be able to see the outline of the wreck from about 20 metres as the visibility here is normally very good. However, as the wreck is a long way south, the angle of the sun is normally quite low so the penetration of light is not that great and it can be fairly dark. Make sure you have a good torch to help you see everything.
 | 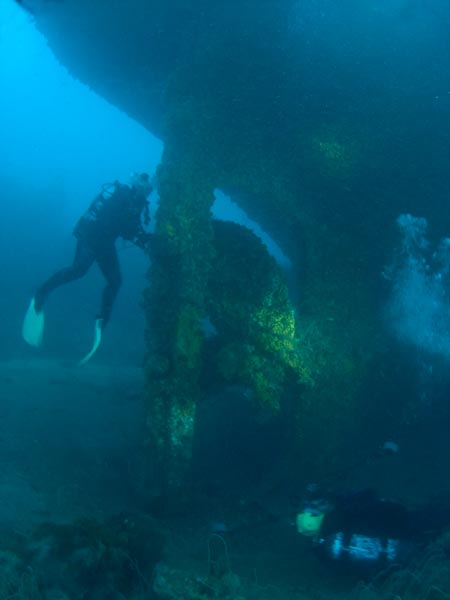 |
| Another shot of the stern of the SS Nord | A close up of the prop of the SS Nord |
If you are anchored near the engine, this section of the wreck stands up at least three metres higher than the wreckage towards the bow or stern. Head to the south towards the bow. The hull here is collapsed in on itself. You should be able to see the stern section almost as soon ass you leave the anchor. This stands up higher than the engine area (up to about 33 metres I guess). Head along the left side as you approach the stern section.
On the sand at the stern the depth is 40 metres and there are lots of sea whips. If you have a camera, go a bit off the wreck and you can get an excellent silhouette of the stern, prop and rudder from out here. Swim towards the prop and go around to the port side. You can get good close-up views and photographs of the prop and rudder from here. The prop originally had four blades, but two are now missing, the bottom one and the one to starboard. The rudder is hard a'port.
 |  |
The large triple expansion steam engine
Photo taken from the rear | The two boilers are located here |
If this is your first dive here, you may only be able to examine this section of the wreck before your air supply gets low. If you have dived the wreck a few times, the stern section can be penetrated and explored.
If you are an experienced deep diver and good on your air, you may be able to examine the whole wreck on one dive. You should be able to at least explore the middle section as well as the stern.
Swim along the port side of the wreck. Soon you will come to the engine area. Have a look at the large object in the middle of the southern part of the higher section. This is the triple expansion steam engine, huge. In front of the engine are the two boilers. There also appears to be a smaller boiler, perhaps for a donkey engine.
In front of this area are the forward cargo holds. This section of the wreck has collapsed the most. It is probably just over 20 metres across to the bow. As you swim over the collapsed part, you will see that a few deck timbers still remain, some quite intact. As you approach the bow, go along the port side.
 |  |
| There are still some deck timbers towards the bow | Kelly over the bow |
If you look out to the left as you get level with the higher section of the bow you will see that the port anchor chain is visible running off into the distance at an angle of about 45°. It is especially noticeable as there is a lot more growth of sea whips and sponges on the chain. You can get some good views of the bow from off to the port side. It is about 43 metres here.
On the starboard side of the bow the other anchor sits on the seabed, resting up against the bow itself.
By now, if you have dived the whole wreck, it will be time to head back to the dive boat's anchor. Follow the starboard side and as you come level with the middle section you will see a couple of bollards. When I did this dive, our bottom time to here was about 18 minutes. We spent another minute or so here before ascending.
For the almost 20 minute bottom time, we had to do two minutes at six metres and seven minutes at three metres. For some unknown reason, my dive computer deco time jumped from five minutes to seven minutes, something that has never happened to me before. We had to do the deco a bit deeper than planned as the current was strong so this added to the time. Total bottom time was 41 minutes.
This was an excellent dive, one of the best wrecks I have done in Australia and the best preserved wreck for its age of any I have dived all over the Pacific.
I dived this wreck with Eaglehawk Dive Centre. I can certainly recommend them. Note that this dive is only for the experienced diver, who should have done some similar dives in places like Melbourne or Sydney. Note that a minimum of four divers are required for the dive to operate.
References:
|  v6.00.307 © 2003-2005

